Create Slime Mart How to Make Slime Food
Box to plated snack — waffle, donut, pizza, and presentation tips that film well.
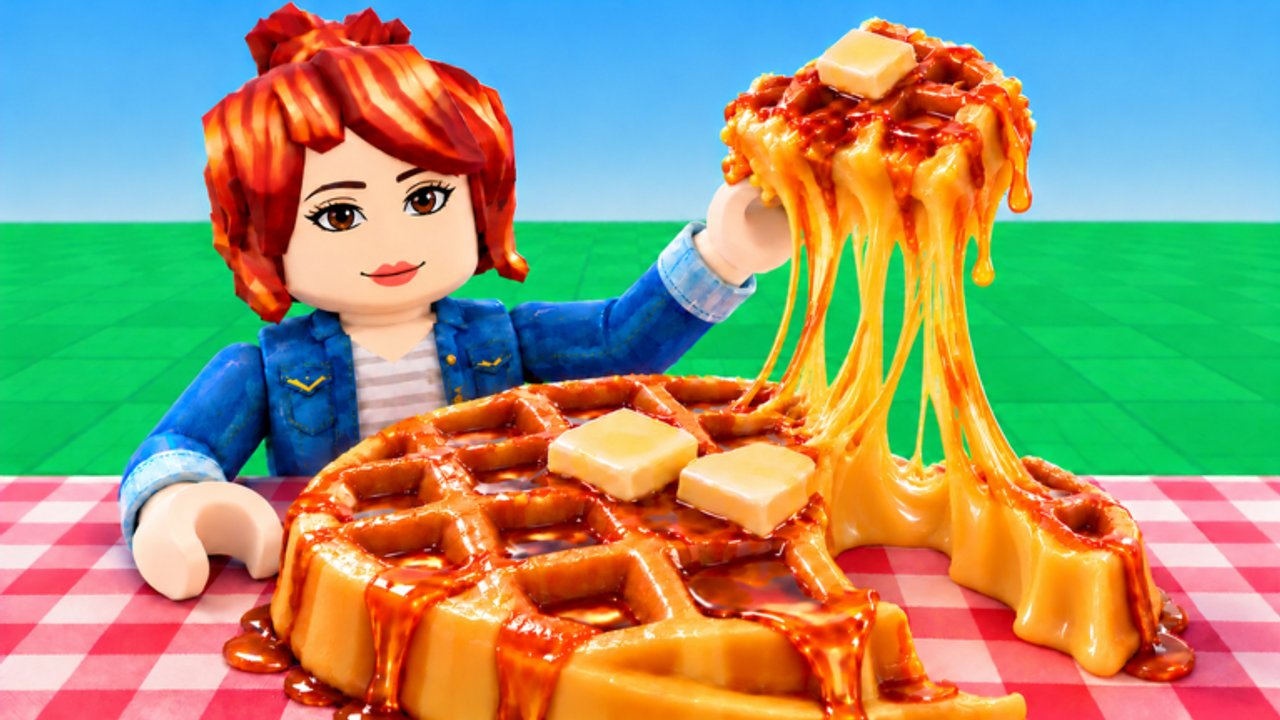
Making slime food is the heart of Create Slime Mart. Courgette Fan Club built the experience around opening themed boxes, assembling hyper-satisfying snacks at a table, customizing with Extras, and then stretching, squishing, and filming the result. This guide goes deeper than the Getting Started walkthrough: you will learn how to pick a box, run a clean table workflow, assemble waffle-, donut-, and pizza-style recipes, and finish with presentation moves that earn better Coins and Subs.
If you still need camera and interact help, keep Controls open. When you care about which snacks flex hardest, compare notes with the Slime Food Tier List. Economy pacing after you can cook reliably lives in Earn Coins and Subs.
Step 1 — Pick the right box for the session
Shop inventory rotates. Early access stock leans on waffles, donuts, pizza, and additional snack kits as restocks land. Before you buy or claim:
- Decide whether this session is for learning (simple base, fewer tiny pieces) or flex (busy toppings, bold Extras).
- Check restock timing so you are not mid-create when the shop flips.
- Prefer kits whose pieces you can actually see on your device — busy mobile screens punish ultra-tiny toppings.
A learning session should finish. A flex session should look intentional on film. Mixing those goals on your first tries usually produces neither.
Step 2 — Open at the table and stage your workspace
Take the box to a free table and open it. Spread or sort pieces mentally: base, sauce or fill, toppings, molds or extras. Clear clutter from the camera path. In co-op, call your table so friends do not collide with your build — online sessions support collaborative play, but overlapping props waste time.
If the kit includes a reference layout or implied recipe order, follow it once. After that, experiment. Create Slime Mart rewards recognizable food silhouettes more than random goo piles.
Step 3 — Lay the dough or base
Every strong create starts with a readable base:
- Waffle: seat the grid so pockets face the camera. Uneven seating makes syrup and toppings slide visually.
- Donut: center the ring; leave a clean hole. Glaze looks richer when the ring is level.
- Pizza: stretch or place the dough disk flat. Thick edges can frame toppings; thin centers show sauce better.
Spend an extra few seconds here. A crooked base forces every later topping into awkward angles.
Step 4 — Sauce, fill, and main color
Add the primary wet or fill layer next — maple tones on waffles, glaze on donuts, sauce and cheese on pizza, or the kit’s equivalent. Cover enough surface that the snack reads as “dressed,” but leave small windows of base color so depth remains. Flat, wall-to-wall coverage often looks painted rather than layered.
Color contrast sells the create on film. If everything is the same value, toppings disappear in compressed Roblox lighting.
Step 5 — Toppings with intent
Toppings are where beginners either shine or clutter.
Good habits
- Place large hero toppings first, then fillers.
- Use odd-number clusters (three berries, five sprinkles) for a natural look.
- Keep a clean “stage” edge so the plate silhouette stays sharp.
Bad habits
- Dumping every piece the box gave you.
- Stacking so high that stretch animations clip.
- Hiding the base identity (a waffle that no longer looks like a waffle).
For pizza-style kits, think in zones: sauce, cheese, protein or veg, finish garnish. For donuts, think glaze river then sprinkle weather. For waffles, think butter or cream anchors, then fruit or crunch bits in the grid pockets.
Step 6 — Extras customization
Extras are the customization layer that turns a stock kit into your snack. Open Extras after the structural toppings are stable. Add pieces that reinforce a theme — sweeter dessert flex, savory pizza chaos, pastel cafe vibes — instead of random stickers.
Ask one question: will this Extra still read when the camera is a few studs back? If not, skip it. Tiny ornaments that only you can see in first person rarely help Subs when you film.
Assemble recipes by style
Waffle-style
- Seat waffle base.
- Add butter or cream anchors in opposite corners.
- Drizzle syrup in a loose S so it catches light.
- Drop fruit or crunch into grid pockets, not only on top.
- Finish with Extras that suggest brunch, not clutter.
Donut-style
- Level the ring.
- Pour or place glaze so it drips slightly over the outer edge.
- Add sprinkle weather from high to low density across one side.
- Optional second drizzle for contrast.
- Extras: charms or accent bits near the glaze edge, not in the hole.
Pizza-style
- Flat dough.
- Sauce spiral leaving a thin crust ring.
- Cheese blanket with intentional bare spots.
- Toppings in thirds of the pie so each camera angle shows variety.
- Extras as finishing herbs, oils, or novelty bits after structure is locked.
Other boxes follow the same grammar: identity base → main dress → hero toppings → Extras.
Stretch, squish, and crunch for presentation
Before you film, play the sensory loop. Stretch to show elasticity, squish to sell softness, and use crunchy interactions when the kit supports them. Do not destroy the silhouette you spent five minutes building — tease the texture, then reset framing for the money shot.
Presentation tips that consistently help:
- Film three-quarter angles, not dead top-down only.
- Leave negative space beside the plate so motion reads.
- Stretch once slowly for Subs-friendly footage, then squish for payoff.
- If co-op friends are watching, time the crunch when they are looking — social proof is part of the mart fantasy.
Income details after a clean create are in Earn Coins and Subs. Pets can sit beside this loop later; see the Pets Guide once cooking feels automatic.
Quality checklist before you leave the table
- Base identity is obvious at a glance.
- Color contrast exists between base, dress, and toppings.
- Extras support a theme.
- Nothing critical is clipping through the table.
- You know your first film angle.
If two of those fail, fix them before spending Coins on another box. Practice compounds faster than shopping.
How this page connects to the rest of the wiki
- New to the game? Start with Getting Started.
- Comparing snacks for flex vs effort? Use Slime Food Tier List and later Pets Tier List.
- Optimizing restocks and filming loops? Read Earn Coins and Subs.
- Need input help? Controls.
- Tracking the Pets feature drop? Pets Update.
Master the table, and every other Create Slime Mart system — shop restocks, collab visits, pets, codes — has something worthwhile to spend on. Build one snack you are proud to stretch on camera, then iterate.
Frequently Asked Questions
Quick answers to the most common questions.
What slime foods can I make?
Boxes commonly cover waffles, donuts, pizza, and additional snack kits as the shop restocks. Exact lineup shifts during early access.
Do I have to use Extras?
You can finish without them, but Extras are the main customization pass that makes creates unique and more camera-friendly. Use them after the base structure is solid.
Why does my create look messy on film?
Usually a crooked base, low color contrast, or too many tiny toppings. Rebuild the base, thin the toppings, and film from a three-quarter angle.
Should I stretch before or after filming setup?
Do a short stretch/squish pass to show texture, then reframe for a clean money shot. Avoid destroying the silhouette you want viewers to recognize.
Where should I go after I can cook reliably?
Optimize income with Earn Coins and Subs, compare options on the slime food tier list, then explore pets if you want collection on top of the kitchen loop.